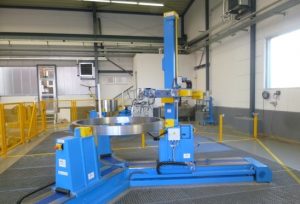
Ultrasonic testing of discs and rings
Inspection task
- Reliably inspects discs, rings and cylindrical components
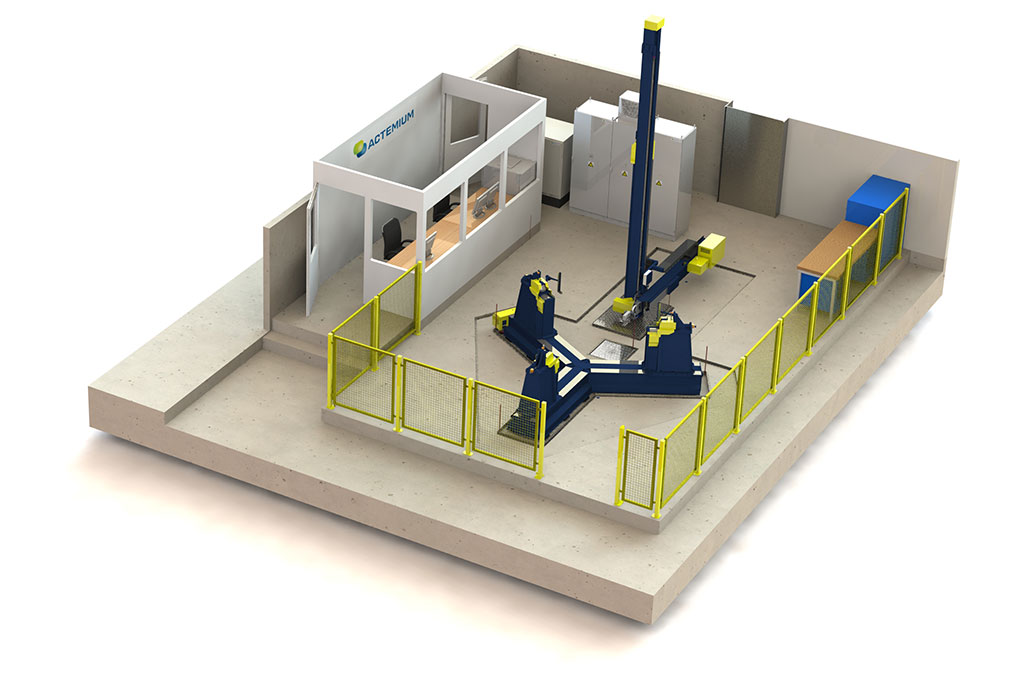
- Two turning devices with equal load capacity
- Parallel inspection and loading enables increased throughput
- Depending on the configuration, one or more turning devices/roller blocks to reduce set-up times
Features
- Flexible and reliable system for different sized components
- No time-consuming turning of the workpieces necessary
- Swivel axis enables ultrasonic testing of top and bottom side
- Inspection of components on the outer surface (circumference) as well as from the bottom and top face
Technical Data


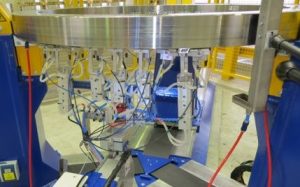
- Pneumatically actuated inspection system (number of probes depending on requirements)
- Phased array or conventional ultrasonic inspection technology
- Camera system for monitoring the inspection
Inspection of rings and discs
- Max. diameter: 6500 mm
- Max. height: 150 mm to 2500 mm
- Max. weight: 30 t
We are your NDT specialist.
Steel | Railway | Aerospace

Application
Ultrasonic testing of bearing rings and gears for wind turbines
Due to the high requirements of bearings for wind turbines, the rings are inspected with a SIRO-MAN at various stages of production. In the event of a material defect, this makes it possible to derive the appropriate steps at a very early stage in the manufacturing process.
Other rings are further processed into gears after ultrasonic testing with the SIRO-MAN. The inspection prior to further processing of the rings makes it possible, for example, to set the milling contours in later production steps in such a way that the defect is no longer located in the component.
Any questions?
Actemium Cegelec Mitte GmbH
Actemium NDS
Gutenstetter Str. 14
90449 Nuremberg
Germany
Phone: +49 911 9943-0
E-Mail: info.nds@actemium.de


